RTG Bills Online
Email Bills to Clients - Part 2
In part 1, you chose the clients who will receive bills by email. You also entered information about your email server, so RTG Bills Online can send the email automatically.
In part 2, we will show the steps to actually create and send the email messages.
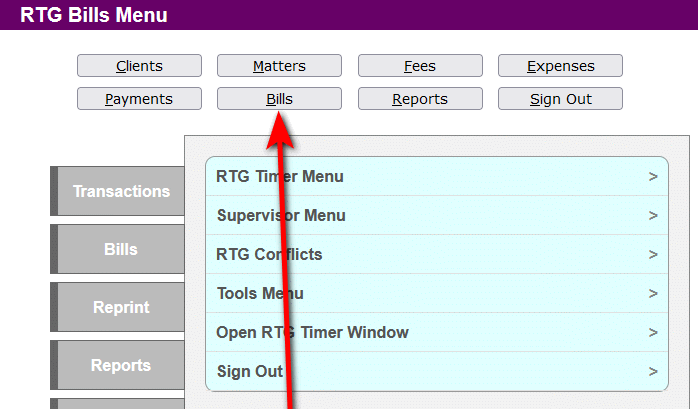
Create the bills. (No email is sent.)
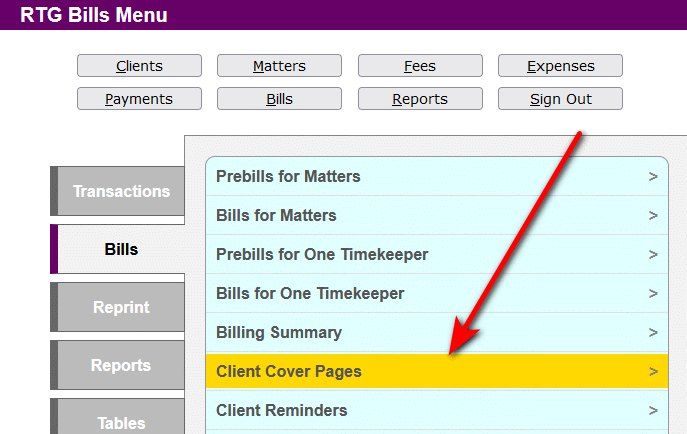
Create the cover pages, if some clients have more than one matter. (No email is sent.)
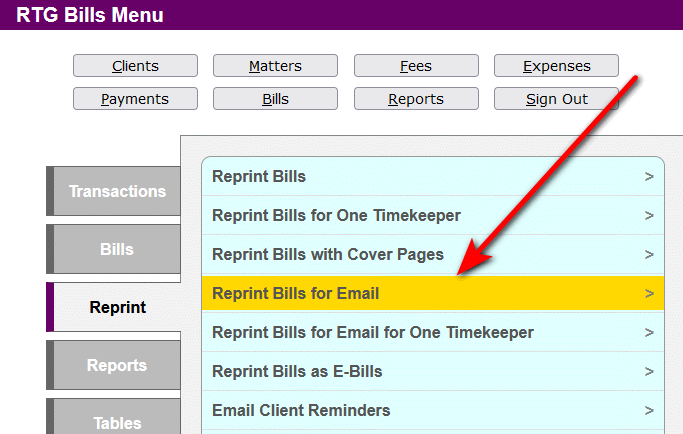
Choose Reprint Bills for Email.
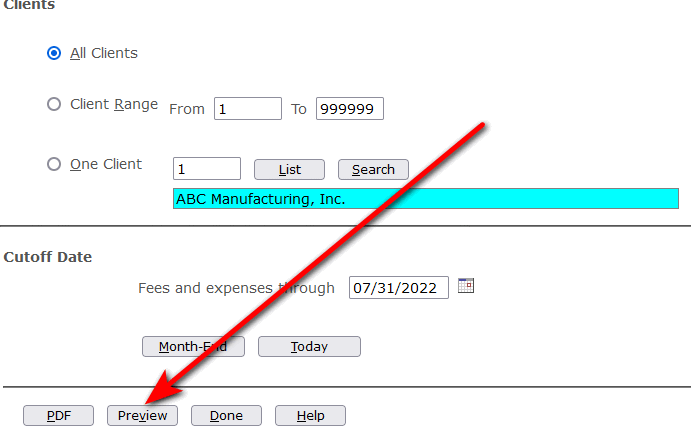
Click Preview to see a list of the bills that will be sent.
The Preview shows the PDF files that will be created. The "Send?" column is "Yes" to show that RTG Bills will also send them as email attachments. Click Done to continue.

Click PDF to create the PDF files to be sent as attachments.
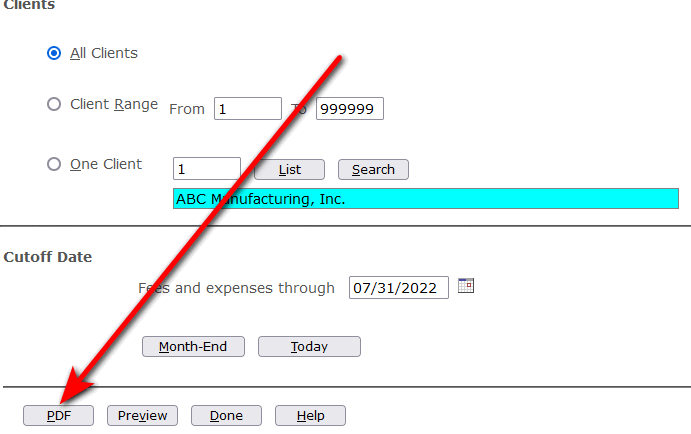
Click Yes to continue.

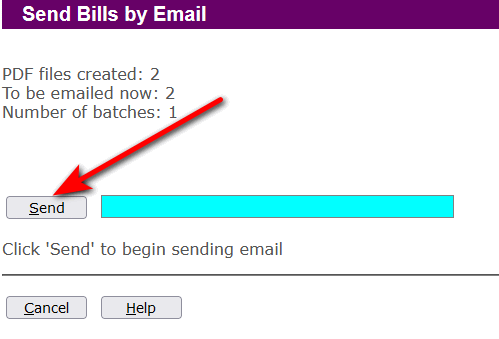
Click Send. You will see the progress as each email is sent.
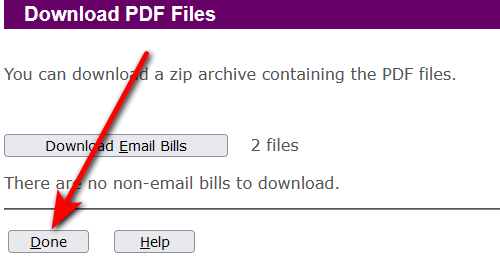
When the emails have been sent, you can download the PDF files to your local computer.
Downloading the files is not strictly necessary, because RTG Bills lets you view the bills or create new PDF files at any time.
Click Done to return to the RTG Bills Menu.
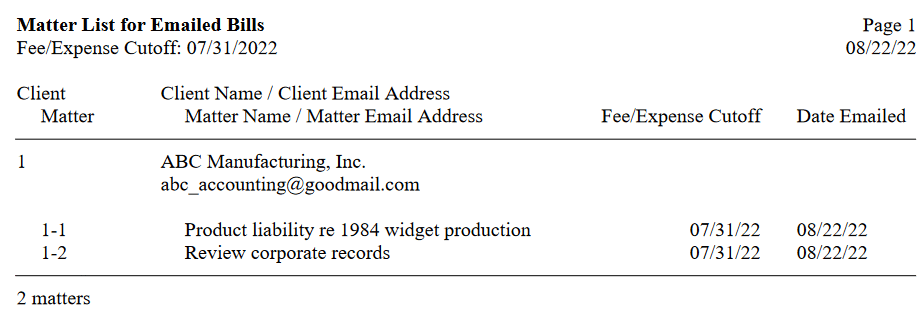
As a final step, you may want to print a report, Matter List for Emailed Bills. For the date range, choose One Date and enter the fee/expense cutoff date of the bills just emailed.
This report gives you a record of what was sent and when it was sent.
RTG Bills only saves the most recent Date Emailed, so you should save this report if you want to have that information.
The End
Copyright © 2025 RTG Data Systems

